Hello , today we will see how to install Hadoop on Ubuntu(16.04).

Step 1 :
 (Succesfully installed java)
Step 2 :
Step 3 :

Step 4 :

Step 5 :


Step 6 :
1).bashrc = Open bashrc file by typing : sudo nano ~/.bashrc
Copy the commands given below to the end of the file and press Ctrl+O , Enter(Return) then Ctrl+X.
The commands will be written and you will be back to original terminal.
export JAVA_HOME=/usr/lib/jvm/java-8-openjdk-amd64
export HADOOP_HOME=/usr/local/hadoop
export PATH=$PATH:$HADOOP_HOME/bin
export PATH=$PATH:$HADOOP_HOME/sbin
export HADOOP_MAPRED_HOME=$HADOOP_HOME
export HADOOP_COMMON_HOME=$HADOOP_HOME
export HADOOP_HDFS_HOME=$HADOOP_HOME
export YARN_HOME=$HADOOP_HOMEexport export HADOOP_COMMON_LIB_NATIVE_DIR=$HADOOP_HOME/lib/native
export HADOOP_OPTS="-Djava.library.path=$HADOOP_HOME/lib"
Enter this command after successfully writting bashrc : source ~/.bashrc


export JAVA_HOME=/usr/lib/jvm/java-8-openjdk-amd64
<property>
<name>dfs.replication</name>
<value>1</value>
</property>
<property>
<name>dfs.namenode.name.dir</name>
<value>file:/usr/local/hadoop_tmp/hdfs/namenode</value>
</property>
<property>
<name>dfs.datanode.data.dir</name>
<value>file:/usr/local/hadoop_tmp/hdfs/datanode</value>
</property>

Now we will edit the file : sudo gedit /usr/local/hadoop/etc/hadoop/mapred-site.xml
<value>yarn</value>
</property>

Step 7 :

Step 8 :
cd
hdfs namenode -format
Step 9 :
start-dfs.sh

start-yarn.sh
Step 10 :

Step 11 :

Step 1 :
- In order to install Hadoop you need to first install java .
- Open the Terminal and run : sudo apt-get update (the packages will be updated by this command).
- Java Installation : sudo apt-get install default-jdk ( This will download and install java).
- To check whether java is installed successfully : java -version

Step 2 :
- Create a group : sudo addgroup hadoop
- Add a user : sudo adduser --ingroup hadoop huser ( After this command enter new password and new values for fullname , room number etc. )
- Now make 'huser' as root user by this command : sudo adduser huser sudo
Step 3 :
- Install openssh server: sudo apt-get install openssh-server
- Login as 'huser' : su - huser ( now 'huser' will be logged as root user)
- To create a secure key using RSA : ssh-keygen -t rsa -P "" ( Press Enter after the message : 'Enter file in which to save the key')

Step 4 :
- Adding key file to authorized keys : cat $HOME/.ssh/id_rsa.pub >> $HOME/.ssh/authorized_keys

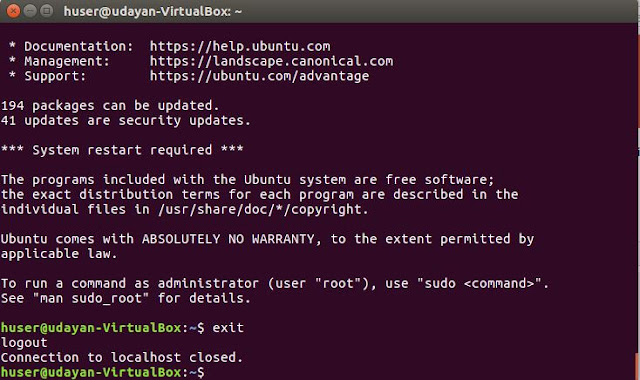
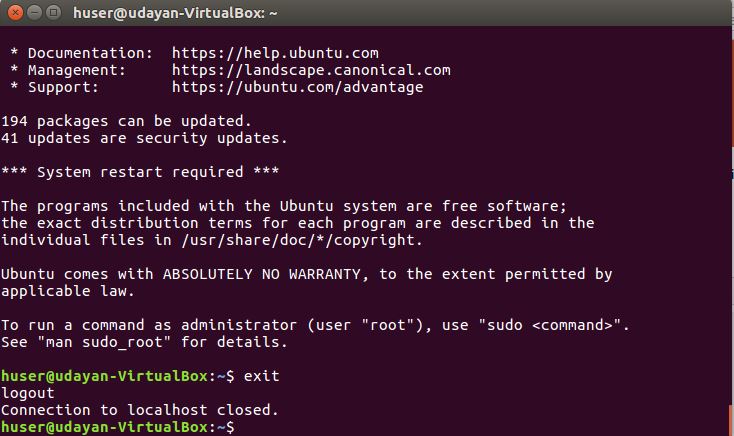
- To check whether ssh key is installed properly : ssh localhost (type yes after executing)
- Logout from ssh : exit
Step 5 :
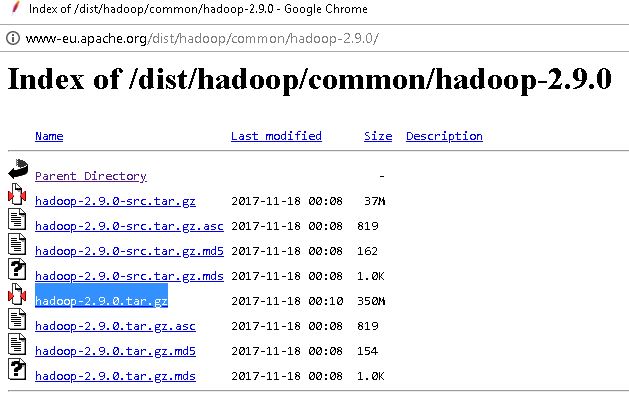
- Installing Hadoop . Download the package highlighted in the image which contains hadoop from : http://www-eu.apache.org/dist/hadoop/common/hadoop-2.9.0/

- Place the downloaded zip file in home folder and cd into the home folder of main account on ubuntu and not 'huser' : cd /(account name)/home

- Extract the package : sudo tar -xvzf hadoop-2.9.0.tar.gz
- Move the package to user local path : sudo mv hadoop-2.9.0 /usr/local/hadoop
- To give ownership of usr/local to 'huser' : sudo chown -R huser /usr/local

Step 6 :
- Now we have to edit some xml files.
1).bashrc = Open bashrc file by typing : sudo nano ~/.bashrc
Copy the commands given below to the end of the file and press Ctrl+O , Enter(Return) then Ctrl+X.
The commands will be written and you will be back to original terminal.
export JAVA_HOME=/usr/lib/jvm/java-8-openjdk-amd64
export HADOOP_HOME=/usr/local/hadoop
export PATH=$PATH:$HADOOP_HOME/bin
export PATH=$PATH:$HADOOP_HOME/sbin
export HADOOP_MAPRED_HOME=$HADOOP_HOME
export HADOOP_COMMON_HOME=$HADOOP_HOME
export HADOOP_HDFS_HOME=$HADOOP_HOME
export YARN_HOME=$HADOOP_HOMEexport export HADOOP_COMMON_LIB_NATIVE_DIR=$HADOOP_HOME/lib/native
export HADOOP_OPTS="-Djava.library.path=$HADOOP_HOME/lib"
Enter this command after successfully writting bashrc : source ~/.bashrc

2)Now open hadoop-env.sh file by typing : sudo gedit /usr/local/hadoop/etc/hadoop/hadoop- env.sh
A File will be opened , replace the export JAVA_HOME command shown in the image with :

export JAVA_HOME=/usr/lib/jvm/java-8-openjdk-amd64
3)Editing configuration files :
I )core-site.xml
Enter command on terminal : sudo gedit /usr/local/hadoop/etc/hadoop/core-site.xml
A Text editor file will be opened . Paste the code given below , in the file between the configuration tag and save it.
<property>
<name>fs.default.name</name>
<value>hdfs://localhost:9000</value>
</property>


II )hdfs-site.xml
Enter command on terminal : sudo gedit /usr/local/hadoop/etc/hadoop/hdfs-site.xml A Text editor file will be opened . Paste the code given below , in the file between the configuration tag and save it
<name>dfs.replication</name>
<value>1</value>
</property>
<property>
<name>dfs.namenode.name.dir</name>
<value>file:/usr/local/hadoop_tmp/hdfs/namenode</value>
</property>
<property>
<name>dfs.datanode.data.dir</name>
<value>file:/usr/local/hadoop_tmp/hdfs/datanode</value>
</property>
III ) yarn-site.xml
Enter command on terminal : sudo gedit /usr/local/hadoop/etc/hadoop/yarn-site.xml A Text editor file will be opened . Paste the code given below , in the file between the configuration tag and save it
<property>
<name>yarn.nodemanager.aux-services</name>
<value>mapreduce_shuffle</value>
</property>
<property>
<name>yarn.nodemanager.auxservices.mapreduce.shuffle.class
</name>
</name>
<value>org.apache.hadoop.mapred.ShuffleHandler</value>
</property>
IV ) mapred-site.xml
This is a bit different than the above xml files.First we need to rename mapred site.xml.template as mapred-site.xml .To do this execute this command on terminal :
sudo cp /usr/local/hadoop/etc/hadoop/mapred-site.xml.template /usr/local/hadoop/etc/hadoop/mapred-site.xml

Now we will edit the file : sudo gedit /usr/local/hadoop/etc/hadoop/mapred-site.xml
Paste the command given below and save the file
<property>
<name>mapreduce.framework.name</name><value>yarn</value>
</property>

Step 7 :
- Creating a directory for hadoop to process HDFS : sudo mkdir -p /usr/local/hadoop_tmp
- Creating a namenode inside parent directory ( hadoop_tmp) : sudo mkdir -p /usr/local/hadoop_tmp/namenode
- Creating datanode : sudo mkdir -p /usr/local/hadoop_tmp/datanode
- Changing owner for hadoop_tmp directory as 'huser' : sudo chown -R huser /usr/local/hadoop_tmp

Step 8 :
- Now we need to format name node as 'huser' :
cd
hdfs namenode -format
Step 9 :
- Let's start dfs by executing following command
start-dfs.sh

- Start yarn
start-yarn.sh
Step 10 :
- Checking whether hadoop is installed properly :jps
- If hadoop is installed successfully you will see all the five files as shown in the image.

Step 11 :
- Finally open browser and type localhost:50070 in the url section. Hadoop platform is displayed as below. You have successfully installed hadoop on ubuntu.

👍
ReplyDelete😃
DeleteThanks, it works !!!
ReplyDelete😇
Delete👍👍
ReplyDeleteThanks
Delete